
Your Health o meter scale won’t turn on, shows inaccurate readings, or displays error messages. These are common problems that most users can resolve at home without professional help. This guide covers troubleshooting and repair steps for digital, mechanical, duet, and body fat models, including popular units like the HDM560DQ1-01, 597KL, 400 Series beam scales, and BFM body fat models.
You’ll learn how to diagnose power failures, replace batteries correctly, recalibrate inaccurate readings, clear stubborn error codes like “E”, “Lo”, or “Error 6”, and fix sensor issues. Each section provides step-by-step instructions based on verified technical data.
Power Failure: Scale Won’t Turn On
A non-responsive scale is often fixable with simple steps before attempting disassembly. Start with the easiest solutions first.
Check Battery and Polarity
Begin by replacing the battery, even if it appears functional. Use only fresh alkaline batteries from trusted brands like Duracell or Energizer. For 9V models, test voltage with a multimeter: readings below 8.0V mean replacement is needed. Ensure correct polarity as marked inside the compartment, since reversed batteries prevent power-up entirely.
For lithium models using CR2032 coin cells, confirm the battery is seated flat in its holder. Some HDM-series scales require firm pressure during insertion to make proper contact.
Clean Corroded Contacts
Remove batteries and inspect terminals for white or green corrosion buildup. Wipe contacts with a dry cloth first, then use a cotton swab dipped in isopropyl alcohol for stubborn residue. Allow everything to dry completely before reinserting batteries.
Pro Tip: Never mix old and new batteries together. This reduces efficiency and may damage sensitive circuits.
Discharge Residual Power
Stored charge can interfere with internal circuitry even after battery removal. To perform a full reset, remove all batteries, then press and hold any button or tap the platform repeatedly for 10 to 15 seconds. Reinstall fresh batteries afterward. This simple step often restores function in digital models like the HDM165DQ-53.
Inspect Internal Wiring

If the scale remains unresponsive after battery and reset attempts, internal wiring may be at fault. On many digital models, pry open the cover by releasing four tabs along the edges, then remove the four springs securing the top plate. Lift carefully to expose the circuit board.
Look for a white wire at the tap-activated corner, which is a known failure point on several models. If this wire has disconnected from the PCB, re-solder it using rosin-core solder and test before reassembling the unit.
⚠️ Warning: Disassembly may void your warranty. Only proceed if the scale is out of warranty or the issue is urgent.
Low Battery Errors: “Lo”, “L”, or “Lo Bat”
These warnings indicate the battery is too weak to power the scale reliably. Addressing them quickly prevents further issues.
Replace Immediately
On electro-mechanical models like the HDR973KD-01, the letter “L” appears when voltage drops below usable levels. Replace all batteries at once rather than mixing old and new units. For ProPlus scales including models 4021 and 4261, use six D-cell alkaline batteries for optimal performance.
Test with AC Adapter
Models like the 597KL and 752KL support external power adapters. Plug the adapter into a working outlet and confirm the red indicator light turns on. If the light is on but the display remains dark, an internal fault likely exists. Try a different outlet first to rule out a faulty power source.
Inaccurate Readings or Won’t Zero
Inconsistent weights usually stem from environmental factors or calibration issues rather than hardware failures.
Verify Level and Hard Surface
Always place the scale on tile, wood, or concrete. Never use it on carpet, as soft surfaces cause drifting and “Under” errors. Use a bubble level tool to confirm the surface is perfectly flat. Even a slight incline affects accuracy significantly.
Quick Fix: Place a rigid cutting board under the scale to create a stable, level base on uneven floors.
Perform Manual Zero
For digital models, tap to activate, then wait for “000” or “0.0” to appear. If it doesn’t zero automatically, press the Zero button while the scale is empty and wait for confirmation before stepping on.
For mechanical dial scales like the HAP400-62, turn the zero adjustment knob located on the front or side until the needle aligns perfectly with “0”.
Test with Known Weight
Use a calibrated dumbbell or weight, such as 50 lbs, to test accuracy. Acceptable tolerance is ±1% or 1 lb, whichever is greater. At 200 lbs, the reading should fall between 198 and 202 lbs. If readings fall outside this range, proceed to calibration.
Calibrate Digital Scales
Some models require professional calibration, but basic reset procedures often resolve accuracy issues.
Reset Before Calibration
Power off the scale, then hold Select until the unit of measurement (lb/kg) blinks. Choose your preferred unit, then select “Reset: Yes” to confirm. This clears user data and resets the auto-zero function.
Contact Support for Full Calibration
Models like the 597KL, 502KL, and 498KL often need technical support access for true recalibration. Call 1 (800) 638-3722 if readings remain off after reset, error “C” persists beyond startup, or load cell cables are intact but unrecognized.
✅ Note: “C” during startup is normal. It means the scale is self-calibrating. Wait for “000” to appear before stepping on.
Fix Mechanical Balance Beam Scales
Analog models like the 400 Series rely on precise internal alignment for accurate readings.
Adjust the Nose Iron
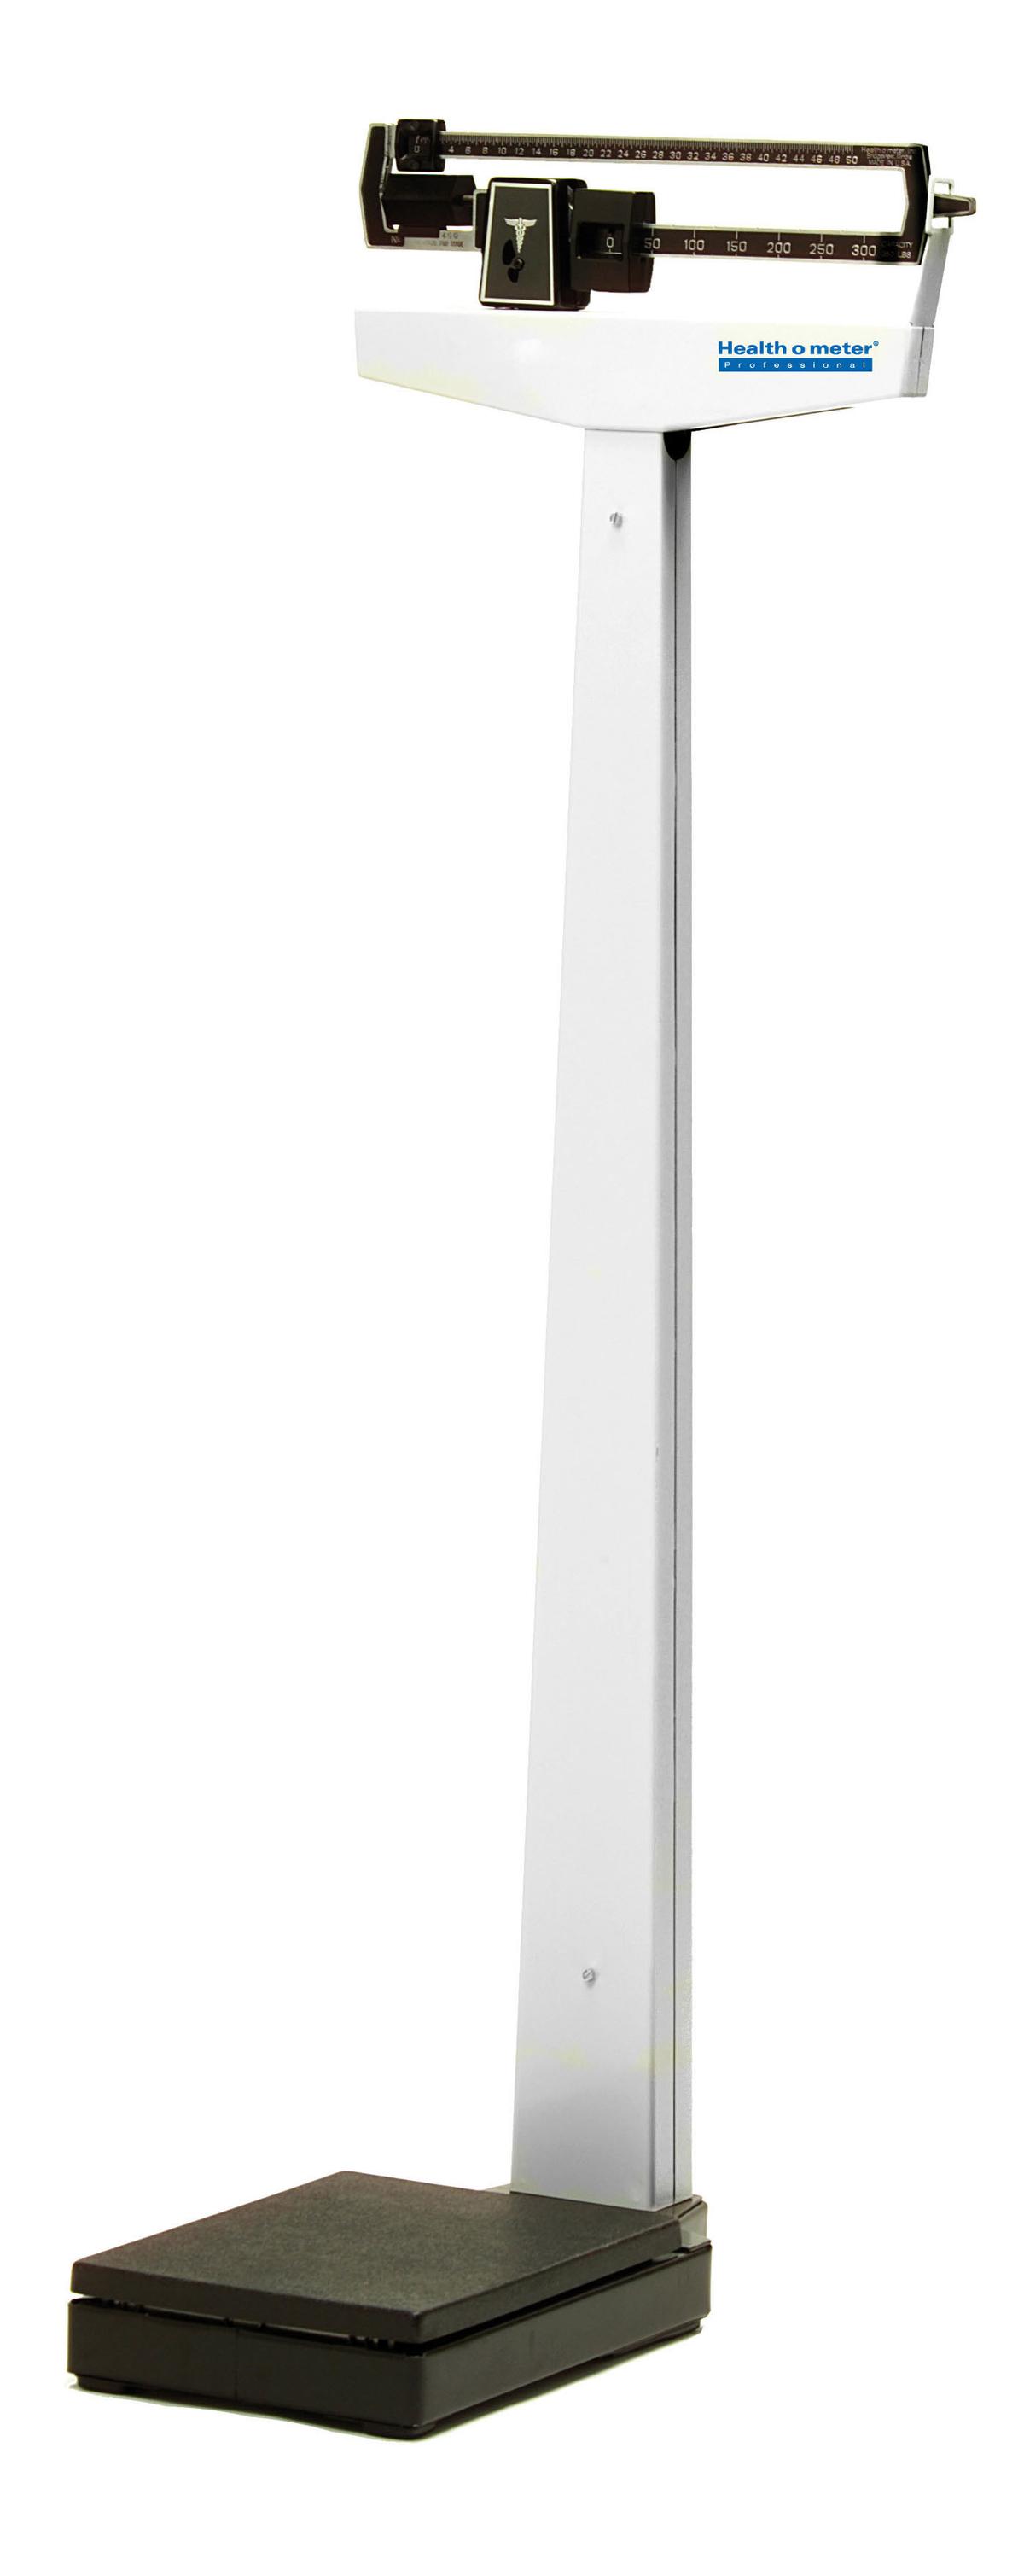
The hex screw securing the lever extension is located under the base. Loosen it slightly, then slide the nose iron outward to decrease the weight reading or inward to increase it. Tighten the screw securely, then re-zero the beam and test.
Adjustment Tip: A 1/16 inch shift produces approximately ¼ lb change per 100 lbs of weight measured.
Beam Won’t Move Freely
Remove end caps by unscrewing one from the front and back. Gently jiggle the beam to free any binding, then check that all three U-loops under the T-bar are properly aligned. Confirm the steel rod is hooked into the center loop and connected to the nose iron hole underneath. Misalignment here causes sticking or complete immobility.
Can’t Balance at Zero
Move both poises to the zero notch, then use the adjustment screw on the left side. Turn counterclockwise to raise the pointer or clockwise to lower it. Adjust until the beam floats freely in the center and the pointer aligns with the zero mark when empty.
Clear Error Messages
Most error codes have simple fixes. Don’t panic when you see them.
“E” – Movement Detected
This means you moved during measurement, stepped on too early, or had improper posture. Stand still with your back straight and feet evenly placed. Wait for “000” to appear before stepping on. If the same error occurs with another person, inspect the load cell cable.
“Err” – Over Capacity
The scale exceeded its maximum weight capacity, typically 300 lbs. Step off immediately and avoid repeated overloads, as this damages load cells.
“Under” – Too Light
Weight falls below the minimum threshold. Ensure the scale is on a level surface with no wall contact. Perform a manual zero. If the problem persists, check for a disconnected load cell cable.
“Over” – Overload Detected
Same as “Err”. Remove weight immediately and stay within rated limits.
“6F” – Not an Error
This is actually “BF” for Body Fat percentage. It appears on BFM142DQ-99, BFM580-01, and similar models and indicates normal operation.
“No Load” or “Error 6/7”
Indicates a load cell cable issue. Power off, locate the cable between base and display, unplug it, then reseat firmly at both ends. Power back on. If the error returns, the internal sensor may be damaged and requires professional repair.
“Menu Lock” – Settings Locked
This occurs on ProPlus and midlevel models. Press and hold the Menu button (button #1) for 20 seconds until “Unlock” appears or menu access is restored.
Fix Body Fat Scales
Body fat scales use bioelectrical impedance analysis, so small errors disrupt readings significantly.
Enter User Data Quickly
After tapping to activate, you have exactly 10 seconds to input your user ID, height, age, and gender. Use the UP/DOWN buttons and press SET after each entry. If you don’t input data, the scale defaults to the last user profile.
Must Be Barefoot
Socks or shoes block the electrical current required for accurate readings. Always weigh barefoot with legs slightly apart and knees straight.
❗ Danger: Do not use body fat scales if you have a pacemaker. The electrical signal may interfere with your device.
Switch Units
Flip the scale over and locate the switch under the platform to toggle between pounds and kilograms. Some models require a button combination instead: press and hold SET plus UP for 3 seconds.
Fix Inconsistent Readings
Fluctuating numbers frustrate users. Check these often-overlooked causes.
Adjust Digital Feet
On digital models, feet should be slightly loose to allow self-leveling. Over-tightening locks the mechanism and causes erratic readings. Loosen the feet just enough so they wobble slightly.
Remove Shipping Blocks
New scales often include plastic stabilizers or transport pins. If not removed, they prevent proper platform compression. Check under the platform and near the base, removing all foreign objects.
Clear Debris Under Platform
Dust, pet hair, or grit can jam sensors. Turn the scale upside down and blow out the corners using compressed air carefully.
Repair Load Cell and Sensor Issues
The load cell measures weight. When faulty, readings fail entirely.
Inspect Load Cell Cable
The cable runs from the base to the display on models like the 597KL, 502KL, and ProPlus. It must be fully seated at both ends. Never force connections; align pins carefully before inserting.
Look for damage signs including frayed wires, bent connector pins, or kinked or crushed cable sections. Reconnect firmly. If “No Load” persists, the sensor may be dead.
Test with Multimeter
Set the multimeter to ohms (Ω) and test load cell resistance. The normal range is 350 ± 10 Ω. An open circuit reading (OL) indicates a broken load cell, while a short circuit (near 0) means damage. Replace the load cell if readings fall outside specifications.
Maintain Accuracy Long-Term
Prevention costs less than repair.
Daily Best Practices
Weigh at the same time daily, preferably in the morning. Wear minimal clothing and go barefoot. Don’t move the scale after positioning; re-zero after any relocation.
Clean Properly
Wipe with a damp cloth and mild soap. Avoid bleach, ammonia, or abrasive pads. Never submerge the scale in water.
Battery Care
Replace all batteries together rather than mixing old and new units. Remove batteries during long storage periods. For CR2032 lithium models, expect up to 10 years of battery life under normal use.
When to Call Support
Contact Health o meter Technical Support at 1 (800) 638-3722 if error 6/7 persists after reconnecting the load cell, calibration fails repeatedly, the scale won’t power on after battery replacement and reset, mechanical beam is misaligned beyond adjustment, or warranty service is needed. Register your product at homscales.com for faster support.
Key Takeaways for Fixing Your Health o Meter Scale
Most Health o meter scale problems stem from simple causes: weak batteries, uneven floors, loose cables, or debris under the platform. Always start with battery replacement and surface verification before attempting repairs. Digital models benefit from residual power discharge, while mechanical beam scales require nose iron and poise adjustment. Error codes like “E”, “Err”, and “6F” have specific meanings and straightforward solutions detailed in this guide. For persistent issues involving load cell failure or calibration problems beyond basic reset procedures, contact professional support at 1 (800) 638-3722. With proper maintenance and prompt attention to battery changes, your Health o meter scale can deliver accurate, reliable performance for years.
Frequently Asked Questions About Fixing Health o Meter Scales
Why does my Health o meter scale show “Lo” even after replacing the battery?
The “Lo” or “L” error indicates low battery voltage. Replace all batteries simultaneously with fresh alkaline units. If the error persists, check for corrosion on battery contacts or try an AC adapter if your model supports external power.
How do I fix a Health o meter scale that won’t turn on at all?
Start by replacing the battery with a fresh one, ensuring correct polarity. Clean any corrosion from contacts, then discharge residual power by removing batteries and pressing any button for 10 to 15 seconds. If still unresponsive, inspect internal wiring for disconnected white wires and re-solder if necessary.
What does “Error 6” mean on my Health o meter scale?
“Error 6” or “Error 7” indicates the display isn’t recognizing the load cells. Power off, check the cable connections between base and display, reseat firmly at both ends, then power back on. If the error returns, the load cell sensor may be damaged.
How do I calibrate my Health o meter digital scale?
Perform a basic reset by holding Select until the unit blinks, choosing your preferred unit, and selecting “Reset: Yes”. True calibration for models like 597KL or 502KL requires contacting Health o meter technical support at 1 (800) 638-3722.
Why does my body fat scale show “6F” instead of a reading?
This isn’t an error. “6F” is actually “BF” displaying Body Fat percentage. It appears on BFM series models after weight measurement completes. Ensure you’re barefoot and standing still for accurate results.



