
You’ve just unboxed your new digital weighing scale, or maybe it’s been sitting idle for months. Either way, when you step on it and nothing happens, the first suspect is the battery. Charging a digital weighing scale correctly is essential for accurate readings, reliable performance, and long-term device health. Whether you own a sleek smart scale that tracks body fat or a rugged industrial model used in labs or warehouses, knowing how to charge it properly makes all the difference.
Most modern digital scales are rechargeable, but charging methods vary significantly by model and type. Some use USB-C cables, others require proprietary chargers, and a few even need internal repairs before they’ll power up. This guide walks you through every step, from identifying your scale type to troubleshooting common charging problems.
Identify Your Scale Type First
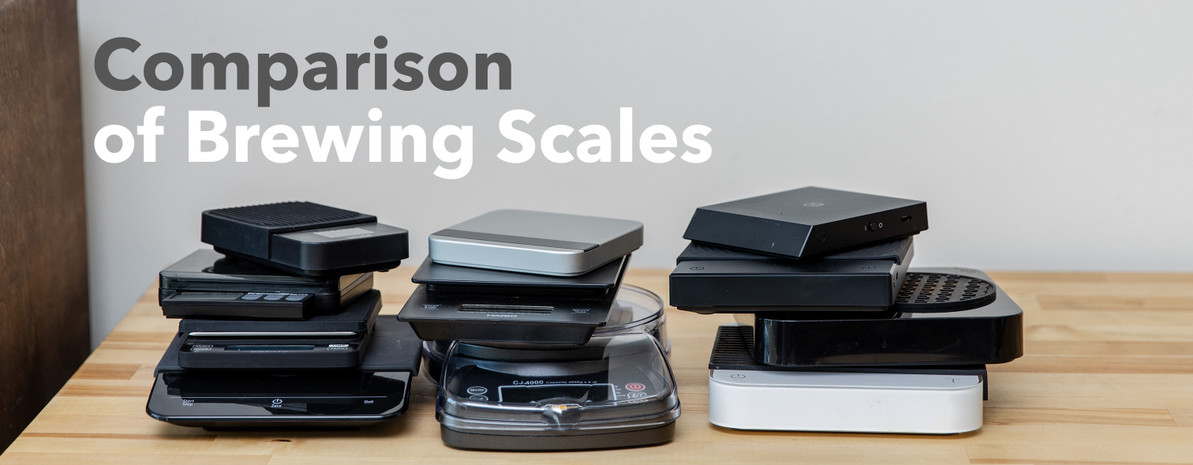
Before plugging anything in, determine what kind of digital scale you have. Charging methods differ across consumer, smart, and industrial models.
Smart Home Scales
These sleek, glass-top scales connect to apps via Bluetooth or Wi-Fi and measure more than just weight. They track body fat, muscle mass, bone density, and visceral fat. Most modern versions use USB-C charging, with the port typically hidden under a rubber flap on the side or bottom.
• Look for a thin cable input, app connectivity, and a smooth glass surface
• Common brands include Withings, Renpho, Etekcity, and Fitbit Aria
• Check for a QR code on the back that links to charging instructions and app download pages
Industrial and Handheld Scales
Used in labs, kitchens, or warehouses, these durable devices often run on NiMH or lead-acid batteries and come with a dedicated wall charger. Some have removable batteries that plug directly into the charger.
• Look for a bulky design, digital handheld display, and a proprietary charging jack
• Charging time typically ranges from 5 to 7 hours
• Never substitute chargers. Using the wrong voltage can damage internal circuits
Repaired or Older Models
If your scale was repaired or has been unused for years, the battery may be deeply discharged or the transformer faulty. In such cases, direct circuit charging or component replacement might be necessary.
Locate the Charging Port or Jack
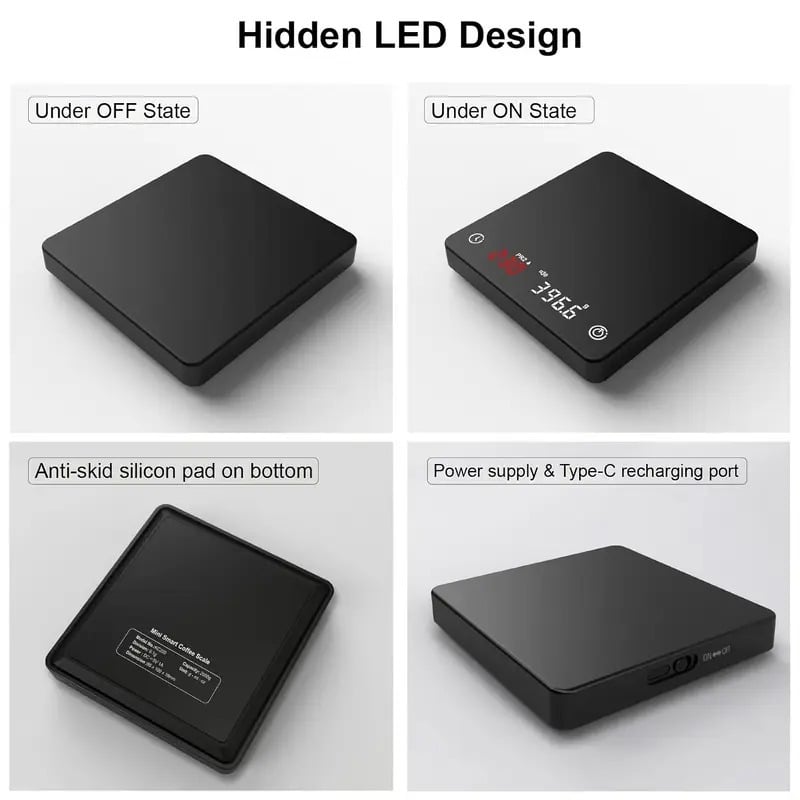
Finding the right input is the first step to successful charging.
Find the USB-C Port on Smart Scales
On most smart scales, the USB-C port is on the underside or side edge. It’s often covered by a small rubber plug to protect against moisture.
- Locate the rubber flap covering the port
- Insert the USB-C cable firmly until you feel a click
- This ensures a secure connection
Visual cue: Once connected, a red or blue LED light should turn on, indicating charging has started.
Identify Proprietary Chargers for Industrial Scales
Some models use a round DC jack or a battery removal system. Remove the battery pack if accessible and insert it into the provided charger. Other models charge via a cable connected to a dedicated charging base.
Warning: These chargers are not interchangeable. Using a different power supply can fry the circuit board.
Use the Correct Charger and Power Source

Using the right adapter prevents damage and ensures full charging.
USB-C Scales Include Cable But Not Adapter
Most smart scales include a USB-C cable, but no wall adapter. You must use your own.
• Any standard 5V USB power adapter works, such as a phone charger or laptop USB port
• Avoid low-power sources like USB hubs or older computers. They may charge too slowly or not at all
• Use a 2.4A wall adapter for faster, more stable charging
Industrial Scales Require Only the Provided Charger
These scales rely on precise voltage. For example, a 6V, 500mA charger matches a 6V, 4.5Ah battery. Substituting a 9V or 12V charger can overheat the battery or damage the charging circuit.
Rule of thumb: If the charger wasn’t made for your exact model, don’t use it.
Connect and Start Charging
Now that you’ve got the right tools, here’s how to begin charging your scale.
Plug In the USB-C Cable
- Connect the USB-A end to a wall adapter or powered USB port
- Insert the USB-C end into the scale
- Wait for the charging indicator light to turn on
What to expect: The light stays on during charging and turns off automatically when fully charged. This varies by model. No light? Try flipping the cable. USB-C is reversible, but poor connections happen.
Attach the Proprietary Charger
- Plug the charger into a wall outlet
- Connect the cable to the scale’s charging port or insert the battery into the charger
- Look for an LED or display signal indicating charging
Note: Some models show an “L” or “Lo” on the display when the battery is critically low. Charge immediately to avoid shutdown.
Monitor Charging Status
Knowing when your scale is fully charged prevents undercharging or overcharging.
Watch the Indicator Light
• Light on means charging in progress
• Light off or green indicates fully charged, though this is model-dependent
• No light? Check connections, outlet, and cable integrity
Troubleshoot: If the light flickers or doesn’t turn on, test the outlet with another device. Try a different USB cable or adapter.
Check Display Warnings
Some scales show battery status on the display.
• “L” or “Lo” means low battery. Needs immediate charging
• “On” with no data means the battery was fully drained. Recharge to restore memory
• After charging, the scale should reset and display normally
Fact: A low battery may allow 15 more minutes of use before shutting down to protect the system.
Know How Long to Charge
Overcharging can degrade batteries, but undercharging reduces performance.
Typical Charging Times
| Scale Type | Charging Time | Full Charge Voltage |
|---|---|---|
| Smart Scale (USB-C) | 3 to 5 hours | Varies by Li-ion model |
| Industrial Scale | 5 to 7 hours | Approximately 6.19V for 6V battery |
| Deep-Discharged Battery | Up to 9 hours | Confirm with multimeter |
Formula for estimate: Charging time equals battery capacity divided by charger current. For a 4.5Ah battery with a 0.5A charger, that’s 9 hours. But most modern chargers are smart and stop or switch to trickle mode, so 5 to 7 hours is typical.
New or Stored Batteries
New batteries may need 2 to 3 full charge-discharge cycles to reach peak capacity. Long-stored batteries over 3 months should be recharged before use, even if unused.
Best practice: Charge fully before first use to ensure accurate calibration and stable Bluetooth pairing.
Troubleshoot Charging Problems
If your scale won’t charge, the issue could be the battery, charger, or internal circuit.
No Charging Light? Check These First
Test the power source. Plug the adapter into another outlet. Use a known-working USB charger or power bank. Try a different USB cable. Some cables only transfer data, not power.
Inspect the charging port. Look for dirt, corrosion, or bent pins. Clean gently with a dry toothbrush or compressed air. Avoid liquids or metal tools.
Battery Voltage Test
Use a multimeter to check battery health.
- Set the multimeter to DC voltage
- Touch probes to battery terminals
- Compare reading to rated voltage
| Condition | Expected Voltage (6V Battery) |
|---|---|
| Fully Charged | Approximately 6.19V or higher |
| Undercharged | Below 6.0V, such as 5.70V |
| Needs Replacement | Below 5.5V |
If voltage is low, charge for several hours. If it doesn’t rise, the battery may be dead.
Transformer and Circuit Check
For scales with internal charging circuits, test the primary winding. It should show continuity and full input voltage, such as 220V. Test the secondary winding. It must have continuity. No reading means a broken transformer. Check the fuse even if it looks intact. Some fail internally.
Bypass test: Disconnect the transformer and connect the battery directly to the circuit with correct polarity. If the charging light turns on, the issue is the power supply, not the scale.
Replace Faulty Components
When diagnostics point to hardware failure, replacement may be needed.
Replace the Transformer
If the charging circuit is dead, install a 12V, 800mA to 1A transformer as a replacement. Ensure proper insulation of terminals to prevent short circuits or moisture damage. Confirm polarity matches the original. Reverse connection can destroy the board.
Swap the Battery
For scales with removable batteries, replace with the exact model number or equivalent. Avoid mixing battery types such as NiMH versus Li-ion. OEM batteries are preferred. Aftermarket ones may not charge properly.
Extend Battery Life and Prevent Damage
Smart charging habits keep your scale working longer.
Avoid These Charging Mistakes
• Leaving it plugged in for days. Even smart chargers can degrade batteries over time
• Charging in humid or wet areas. Moisture can corrode ports and circuits
• Shorting the terminals. Never let metal objects touch exposed battery contacts
• Using damaged cables. Frayed wires can cause intermittent charging or sparks
Best Practices for Longevity
Charge when battery is low, but don’t wait until it dies completely. For NiMH batteries, partial discharges are better than full cycles. If storing for over 3 months, remove the battery and charge it every 6 weeks.
Pro tip: Smart scales used infrequently should be charged once a month to maintain Bluetooth module readiness.
Support Advanced Features with Full Power
A charged battery isn’t just about turning on. It powers critical functions.
Enable App Sync and Health Tracking
Smart scales rely on consistent power to transmit weight, body fat, and muscle data to your phone. They maintain Bluetooth pairing and store readings when Wi-Fi is unavailable.
Low battery? Sync failures and missing data are common. Always charge fully before syncing.
Ensure Measurement Accuracy
Weak batteries can cause inconsistent readings, delayed startup, and failure to calibrate.
Fact: Some scales won’t even power on if the battery is below a safe threshold.
Frequently Asked Questions About Charging a Digital Weighing Scale
How long does it take to fully charge a digital scale?
Most digital scales charge fully in 3 to 7 hours, depending on the model and battery type. Smart scales with USB-C typically take 3 to 5 hours. Industrial scales with NiMH batteries usually need 5 to 7 hours. Deeply discharged batteries may require up to 9 hours.
Can I use any USB charger for my smart scale?
Yes, most smart scales include a USB-C cable but not a wall adapter. Any standard 5V USB power adapter works, such as a phone charger. Use a 2.4A adapter for faster charging. Avoid low-power sources like USB hubs, as they may charge too slowly or not at all.
Why is my scale not charging even when plugged in?
First, test the power source with another device. Try a different USB cable, as some cables only transfer data. Inspect the charging port for dirt, corrosion, or bent pins. If these don’t work, the battery or transformer may be faulty and require replacement.
What does “L” or “Lo” mean on my scale display?
This indicates a low battery warning. The battery is critically low and needs immediate charging. Most scales will operate for approximately 15 more minutes before automatic shutdown to protect the battery.
How do I know if my scale battery needs replacement?
Use a multimeter to check battery voltage. For a 6V battery, a reading below 5.5V indicates the battery needs replacement. A fully charged 6V battery should read approximately 6.19V or higher. If voltage remains low after several hours of charging, the battery is likely dead.
Should I charge my scale before first use?
Yes, it is recommended to fully charge the scale before first use. This ensures optimal performance, accurate readings, and uninterrupted operation. New batteries may need 2 to 3 full charge-discharge cycles to reach peak capacity.
Key Takeaways for Charging Your Digital Scale
Charging a digital weighing scale correctly ensures accuracy, reliability, and longevity. Start by identifying your scale type, whether it’s a USB-C smart scale or an industrial model with a proprietary charger. Always use the correct charger and power source. Industrial scales require their exact charger, while smart scales need a 5V adapter.
Monitor the charging status through indicator lights and display warnings. Typical charging times range from 3 to 7 hours depending on the model. For troubleshooting, test the power source, inspect the charging port, and check battery voltage with a multimeter. Many dead scales just need a new power supply or battery.
Extend battery life by avoiding overcharging, humid environments, and damaged cables. For long-term storage over 3 months, remove the battery and charge it periodically. With proper care, your scale will deliver precise results for years.



