You rely on your pocket scale for precise measurements, whether you’re weighing gold, reloading ammunition, or measuring ingredients. But over time, even the best digital scales drift. If your scale reads 5.05 g when it should be 5.00 g, that small error can add up fast. Calibrating a pocket scale resets its internal sensor to ensure accuracy down to the last decimal place. Without regular calibration, temperature changes, battery fluctuations, or minor drops can throw off your results. This guide walks you through every step, from preparing the perfect surface to using certified weights or reliable household alternatives.
You’ll learn how to enter calibration mode on different scale models, troubleshoot common errors like “FAIL” or “0 L.D.,” and verify accuracy afterward. Whether you own an Amston EX 500 or a generic model without a CAL button, this complete process ensures your scale delivers trustworthy readings every time.
Prepare the Calibration Environment
Use a Level, Stable Surface
Place your pocket scale on a solid, flat surface like a granite countertop, lab bench, or heavy table. Avoid soft materials like couches, beds, or wobbly furniture. Even slight tilts affect load cell readings. For best results, use a small spirit level to confirm the surface is perfectly horizontal. If the bubble is not centered, adjust the surface or move the scale. Never calibrate on an uneven countertop or in a drafty area, because airflow from vents or open windows causes fluctuating readings.
Control Environmental Factors
Temperature swings and humidity impact sensor performance. Calibrate in a room with stable climate, ideally between 68°F and 77°F (20°C to 25°C). Avoid direct sunlight, radiators, or cold drafts. If you just brought the scale indoors from a hot car or cold garage, let it acclimate for 30 minutes before starting. High humidity can cause condensation inside the unit, leading to electrical issues. Keep the environment dry and still.
Eliminate Interference Sources
Keep the scale away from electronics, magnets, and vibrating devices like blenders or speakers. Electromagnetic fields can interfere with digital circuitry. Also, avoid weighing near fans, HVAC vents, or open windows. Air currents as light as a breath can trigger instability. Turn off nearby appliances during calibration for clean results.
Clean and Power the Scale
Wipe Down the Weighing Platform
Dust, oil, or debris on the platform affects calibration. Use a damp microfiber cloth with a drop of mild dish soap or 70% isopropyl alcohol. Gently wipe the platform and housing. For tight corners, use a soft-bristled brush or cotton swab. Never submerge the scale, because water damages internal electronics. After cleaning, dry thoroughly with a lint-free towel. For sticky residue, carefully scrape with a dull plastic tool, not metal.
Install Fresh Batteries
Low power causes erratic behavior and failed calibrations. Replace old batteries with high-quality alkaline or lithium cells. Open the battery compartment, clean contact points with a dry cloth, then insert new batteries. If your model uses AAA or button cells, ensure correct polarity. Weak batteries may allow the scale to turn on but fail during calibration. A fresh set ensures stable voltage throughout the process.
Warm Up the Scale
Turn on the device and let it stabilize for 1 to 30 minutes, depending on the model. During warm-up, the load cell adjusts to ambient conditions. Wait until the display reads “0.00” or equivalent in selected unit before proceeding. Skipping warm-up leads to inaccurate baseline readings. Some precision models require full stabilization, so check your manual for exact timing.
Enter Calibration Mode Correctly

Locate the Calibration Button
Most digital pocket scales have a “CAL,” “MODE,” or “TARE” button used to initiate calibration. On some models, it is a recessed pinhole button requiring a paperclip. If there is no labeled button, try pressing “ON + MODE” simultaneously after powering off. Generic brands often use hidden sequences, so search your model plus calibration mode online if unsure.
Activate Calibration Sequence
With the platform empty, press and hold the CAL or MODE button until the display flashes “CAL.” It may then show a target weight like “100” or “500.” This is the required calibration weight in grams. Do not touch the scale during this phase. If the display does not respond, check battery strength and retry. Some models auto-exit after 10 seconds of inactivity, so act promptly.
Pro Tip: If “CAL” does not appear, consult the user manual. Many manufacturers hide calibration behind multi-button combos.
Apply the Correct Calibration Weight

Choose the Right Test Weight
Use the exact weight specified by the manufacturer. Common values are 100 g, 200 g, or 500 g. Most scales reject incorrect weights and display “FAIL.” The ideal choice is NIST-traceable calibration weights (Class F or higher). These come with certification and are stable over time. Avoid damaged, corroded, or worn weights.
Place Weight Centrally and Wait
Once the display shows the target value (e.g., “100”), gently place the calibration weight in the center of the platform. Do not drop or slide it, because impact disrupts the sensor. Keep hands off the scale. Wait 5 to 15 seconds for the system to register and process the weight. The display may flash or count down.
Warning: Never use a 50 g weight to calibrate a 100 g scale unless the manual explicitly allows it. Mismatched weights cause errors.
Confirm and Complete Calibration
Recognize Success Indicators
A successful calibration ends with one of these signals. The display may show “PASS,” “END,” or “GOOD.” A blinking dot (often bottom-left) also indicates success. Alternatively, the scale may automatically return to “0.00.” If any of these appear, the scale has accepted the new calibration. Remove the weight carefully.
Handle Calibration Failures
If the display shows “FAIL,” “Err,” “OL,” or “0 L.D.,” immediately remove the weight. Check for debris, low battery, or unstable surface. Re-clean and re-level. Verify you are using the correct weight. Restart from power-on. The “0 L.D.” error means overload detected. You likely used too heavy a weight. Never exceed the scale’s max capacity.
Exit and Reset Properly
After success, turn the scale off. Wait 5 seconds, then power it back on. This resets the system and applies the new calibration. The display should stabilize at “0.00.” Test with a known object to confirm accuracy.
Model-Specific Calibration Examples
Amston EX 500: 500g Scale Calibration
Power on and wait for “00.” Press and hold CAL until “CAL” and then “500” flash. Place a 500 g certified weight in the center. Wait for “PASS.” Remove weight, turn off, then restart.
Note: This model does not include the 500 g weight. Purchase it separately.
Hornady GS 1500: Grains Mode Calibration
Turn on. The display should read “00 GN” (grains). Press and hold Mode until “C” appears. Press Mode again. Flashing “100 G” confirms calibration mode. Add 100 g test weight. When “PASS” shows, remove the weight. The scale resets to “0.0 GN.”
Best Practice: Calibrate before each reloading session due to sensitivity.
Generic Models Without CAL Button
Turn the scale off. Press and hold MODE (or ON + MODE) until “CAL” appears. Release and wait for weight prompt. Follow standard weight application steps.
User Hack: Search your brand plus no CAL button calibration for exact sequences.
Use Verified Household Items (When Needed)
Reliable DIY Calibration Objects
When certified weights are not available, use these verified references.
| Item | Weight | Usage Notes |
|---|---|---|
| U.S. Nickel (post-1965) | 5.000 g | 20 nickels = 100 g. Most consistent coin option. |
| U.S. Penny (post-1982) | 2.500 g | 40 pennies = 100 g. Check for wear. |
| AA Battery | 23 to 24 g | Weigh individually first. |
| Distilled Water | 1 mL = 1 g | Use 100 mL in graduated cylinder at room temperature. |
Limitations of Household Substitutes
Coins vary due to dirt, corrosion, or age. Water volume must be precise, so use lab-grade measuring tools. These methods offer approximate calibration only. Always verify final accuracy with a known standard if possible.
Critical Rule: Never use household items unless their weight has been confirmed on a calibrated device.
Verify Accuracy After Calibration
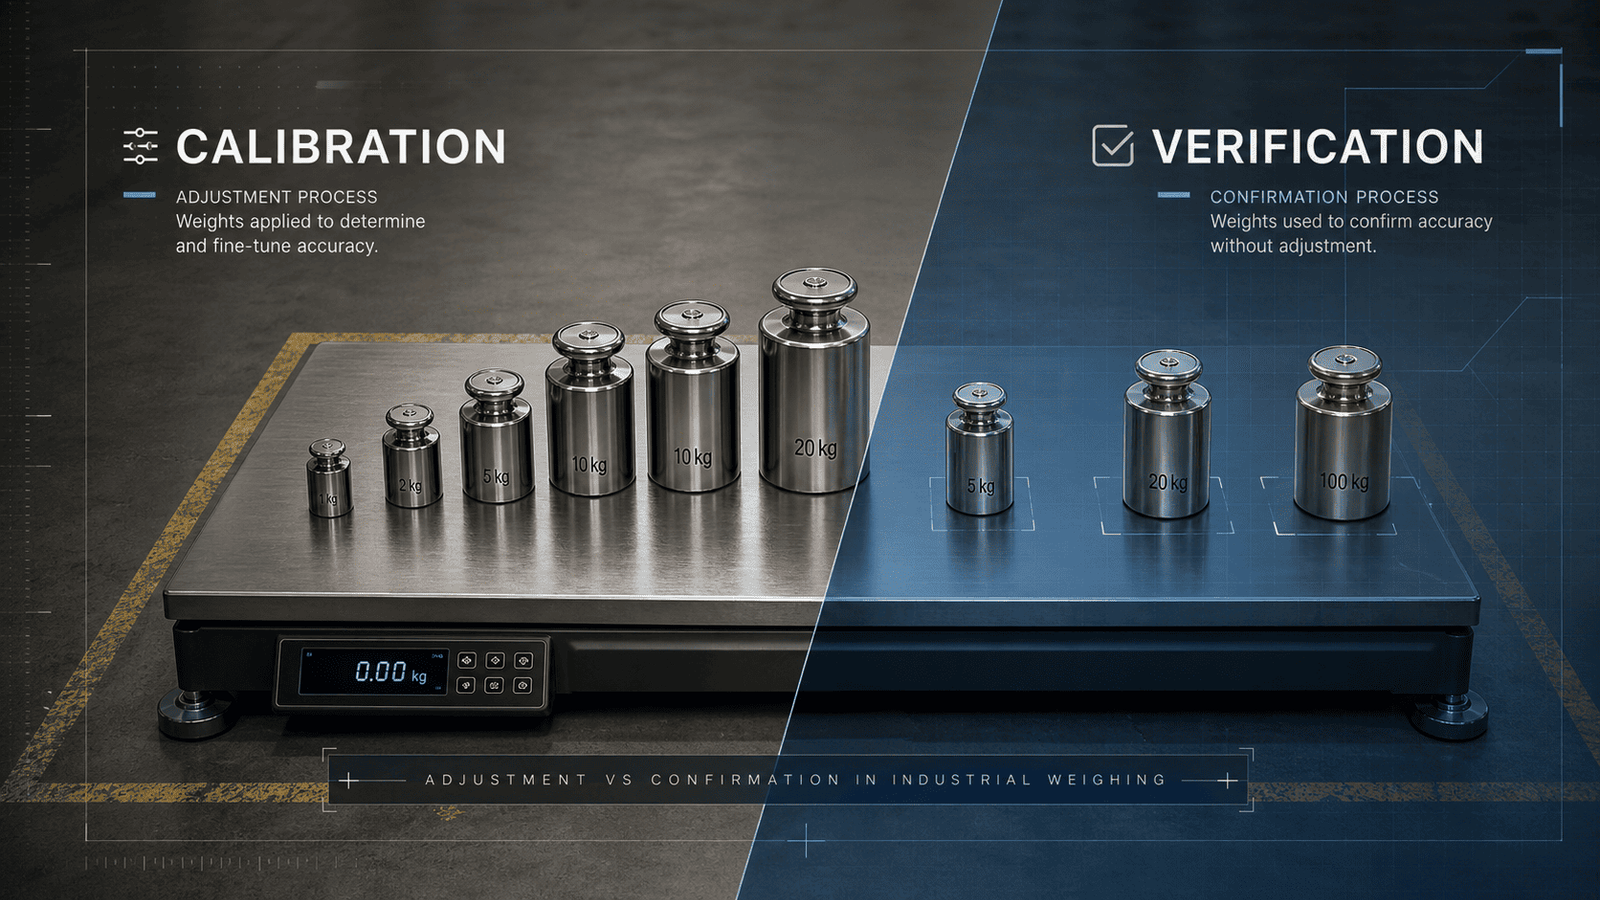
Test with Multiple Known Weights
After calibration, perform a validation check. Weigh a 10 g, 50 g, and 100 g object. Ensure readings match actual weight within plus or minus 0.01 g (for 0.01 g resolution models). Repeat each test 5 to 10 times to assess repeatability. Record results in a calibration log for traceability.
Check Linearity Across Range
Use test weights at low, mid, and high points (e.g., 10 g, 100 g, 200 g). A properly calibrated scale should show linear progression. Deviations greater than 0.05 g suggest internal issues beyond user correction.
Pro Tip: Jewelers often use certified gemstone weights. Reloaders use powder dispensers with known outputs.
Troubleshoot Common Calibration Errors
“FAIL” or “Err” During Calibration
Common causes include wrong calibration weight, movement during process, dirty sensor or platform, or low battery. To fix this, clean the scale thoroughly. Replace batteries. Use the correct certified weight. Recalibrate on a stable surface.
Scale Won t Enter Calibration Mode
Try ON + MODE, CAL + MODE, or TARE + MODE combos. Check battery voltage. Search online for model-specific sequence. Reset by removing batteries for 30 seconds.
Display Shows “0 L.D.”
This means overload. The applied weight exceeds capacity. Remove the item immediately. Never exceed max load (e.g., 200 g). Recalibrate after cooling down the sensor.
Fluctuating Zero or Inconsistent Readings
Root causes include drafts or static, uneven surface, or residual debris. Fix this by relocating to still air. Use anti-static brush. Re-level and re-clean. Warm up longer before calibration.
Maintain Long-Term Accuracy
Clean After Every Use
Wipe with a dry microfiber cloth daily. For sticky substances, use a slightly damp cloth with soapy water. Never soak. Deep clean weekly with isopropyl alcohol. Always dry before storage.
Store Properly
Keep in a dry, dust-free container with a soft liner. Use the original case or wrap in cloth. Avoid pockets, bags, or hot cars where impacts and temperature swings occur.
Replace Batteries Proactively
Change batteries annually or when the scale behaves erratically, the low battery icon appears, or calibration fails repeatedly. Clean contacts each time to prevent corrosion.
Calibrate on Schedule
Follow this recommended frequency. Infrequent use calls for once per year. Regular use requires every 3 to 6 months. Critical applications (e.g., reloading, dosing) need calibration before each use. After shocks or travel, always recalibrate.
Expert Note: Maintain a calibration log with date, weight used, battery status, and test results.
Why Calibration Matters
Prevent Financial and Safety Risks
Inaccurate scales cost money and potentially lives. Jewelers may underpay or overpay for gold. Reloaders risk overcharged cartridges. Cooks ruin recipes with wrong ingredient ratios. Scientists compromise data integrity. A 0.1 g error in powder measurement can exceed safe pressure limits in firearms.
Meet Application-Specific Needs
Each use case demands precision. Coin collectors authenticate by weight. Pharmacists dose accurately (where permitted). Chefs reproduce recipes exactly. Hobbyists ensure project consistency. Without calibration, even a $15 scale becomes unreliable.
When to Seek Professional Calibration
For Legal or Medical Compliance
If your work requires FDA, ISO, or legal metrology compliance, use a certified calibration service. Technicians use NIST-traceable standards, environmental controls, and multi-point testing. You will receive a calibration certificate for audits.
What the Service Includes
Professional calibration includes full inspection and cleaning. It also covers multi-point verification (0 g, 50 g, 100 g, max), repeatability and linearity testing, adjustment and certification. Costs range from $50 to $150 depending on precision level.
Use Case: Labs, medical compounding, forensic analysis.
Key Takeaways for Calibrating Your Pocket Scale
Calibration is not optional, it is essential for accurate measurements. With proper care, a $10 to $15 pocket scale delivers lab-like accuracy anywhere. Always prepare a stable, level surface and use certified calibration weights when possible. Enter calibration mode correctly by following model-specific instructions, and verify accuracy afterward using known test weights. For household alternatives like nickels or water, remember these provide only approximate calibration and should be verified against a standard. Follow the maintenance schedule: clean after use, store properly, replace batteries annually, and calibrate every 3 to 6 months for regular use or before each critical session. By following this guide, you keep your device precise, reliable, and ready for any weighing task.
Frequently Asked Questions About Calibrating a Pocket Scale
How do I know if my pocket scale needs calibration?
Test with a known weight. If the reading deviates significantly (e.g., more than 0.05 g on a 100 g weight), recalibrate your pocket scale.
Can I use household items for calibration?
Yes, for rough calibration, use 20 nickels (100 g) or 100 mL of water. However, standard calibration weights are recommended for accuracy.
How often should I calibrate my pocket scale?
At least once per year, but every 3 to 6 months if used regularly or exposed to environmental changes.
What causes a pocket scale to lose accuracy?
Common causes include debris on the sensor, low battery, physical shock or dropping, temperature and humidity fluctuations, and improper storage.
Why does my scale display “0 L.D.”?
This indicates overload. The item exceeds the scale’s maximum capacity (e.g., over 200 g). Remove the item immediately to avoid damage.
Can I calibrate my pocket scale without the original calibration weight?
Yes, using certified substitute weights or verified household items, but accuracy may vary. Always validate results afterward.